# Jesse M. Ellis - Development notebook for my personal website.
Note: _Revision 1 will be developed from 11/24/2024 to 12/11/2024._
---
### Table of Contents
- [First things first](#First-things-first) - 11/24/2024
- [Design](#Design) - 11/25/2024
- [Figma Design](#Figma-Design) - 11/27/2024
- [Navbar and background](#Navbar-and-background) - 11/30/2024
- [Profile Pic](#Profile-Pic) - 12/01/2024
---
## First things first
**11/24/2024**
The point of this website is to build a personal website that highlight's personal projects using concepts we've learned in Caterina Paun's Intro to WebDev at PSU. I am going to attempt to create something that is more oriented toward my personal game development endeavours by theme-ing the website with elements from LunaLight. I will highlight some of the milestones in that project as well as other projects I have done.
**Some technical constraints**
To check the boxes around concepts learned in WebDev this site should be built using the following:
- HTML
- CSS
- JavaScript
- GitHub pages for deployment
**High Level Implementation Plan**
**Concept**: _This will be a single-page scrolling website with a fixed navigation bar that alows the user to jump to sections._
1. Sketch a layout design for the following required sections:
- Navbar: Fixed at the top.
- About: Brief introduction and a professional photo.
- Previous Work: Resume highlights or course/skills section.
- Projects: Showcase 2-3 projects with links to GitHub/deployed sites.
- Contact: Form for user inquiries.
2. Build basic HTML structure to represent each section.
3. Style the website with CSS.
4. Implement website interactivity with Javascript.
- Scrolling
- Form validation
- Email contact
- Embedded YouTube Video
5. Test, Refine and Repeat (steps 3-5)
6. Deployment with GitHub pages _(we'll worry about this when we get there)_
### A starting point
Just to get things going I'm going to bring some initial files that create a form with user input functionality.
`form.html`, `form.js` and `styles.css`
These files create a simple form that gets user input and prints it to the console. We will build the entire website from here ;)
---
## Design
**11/25/2024**
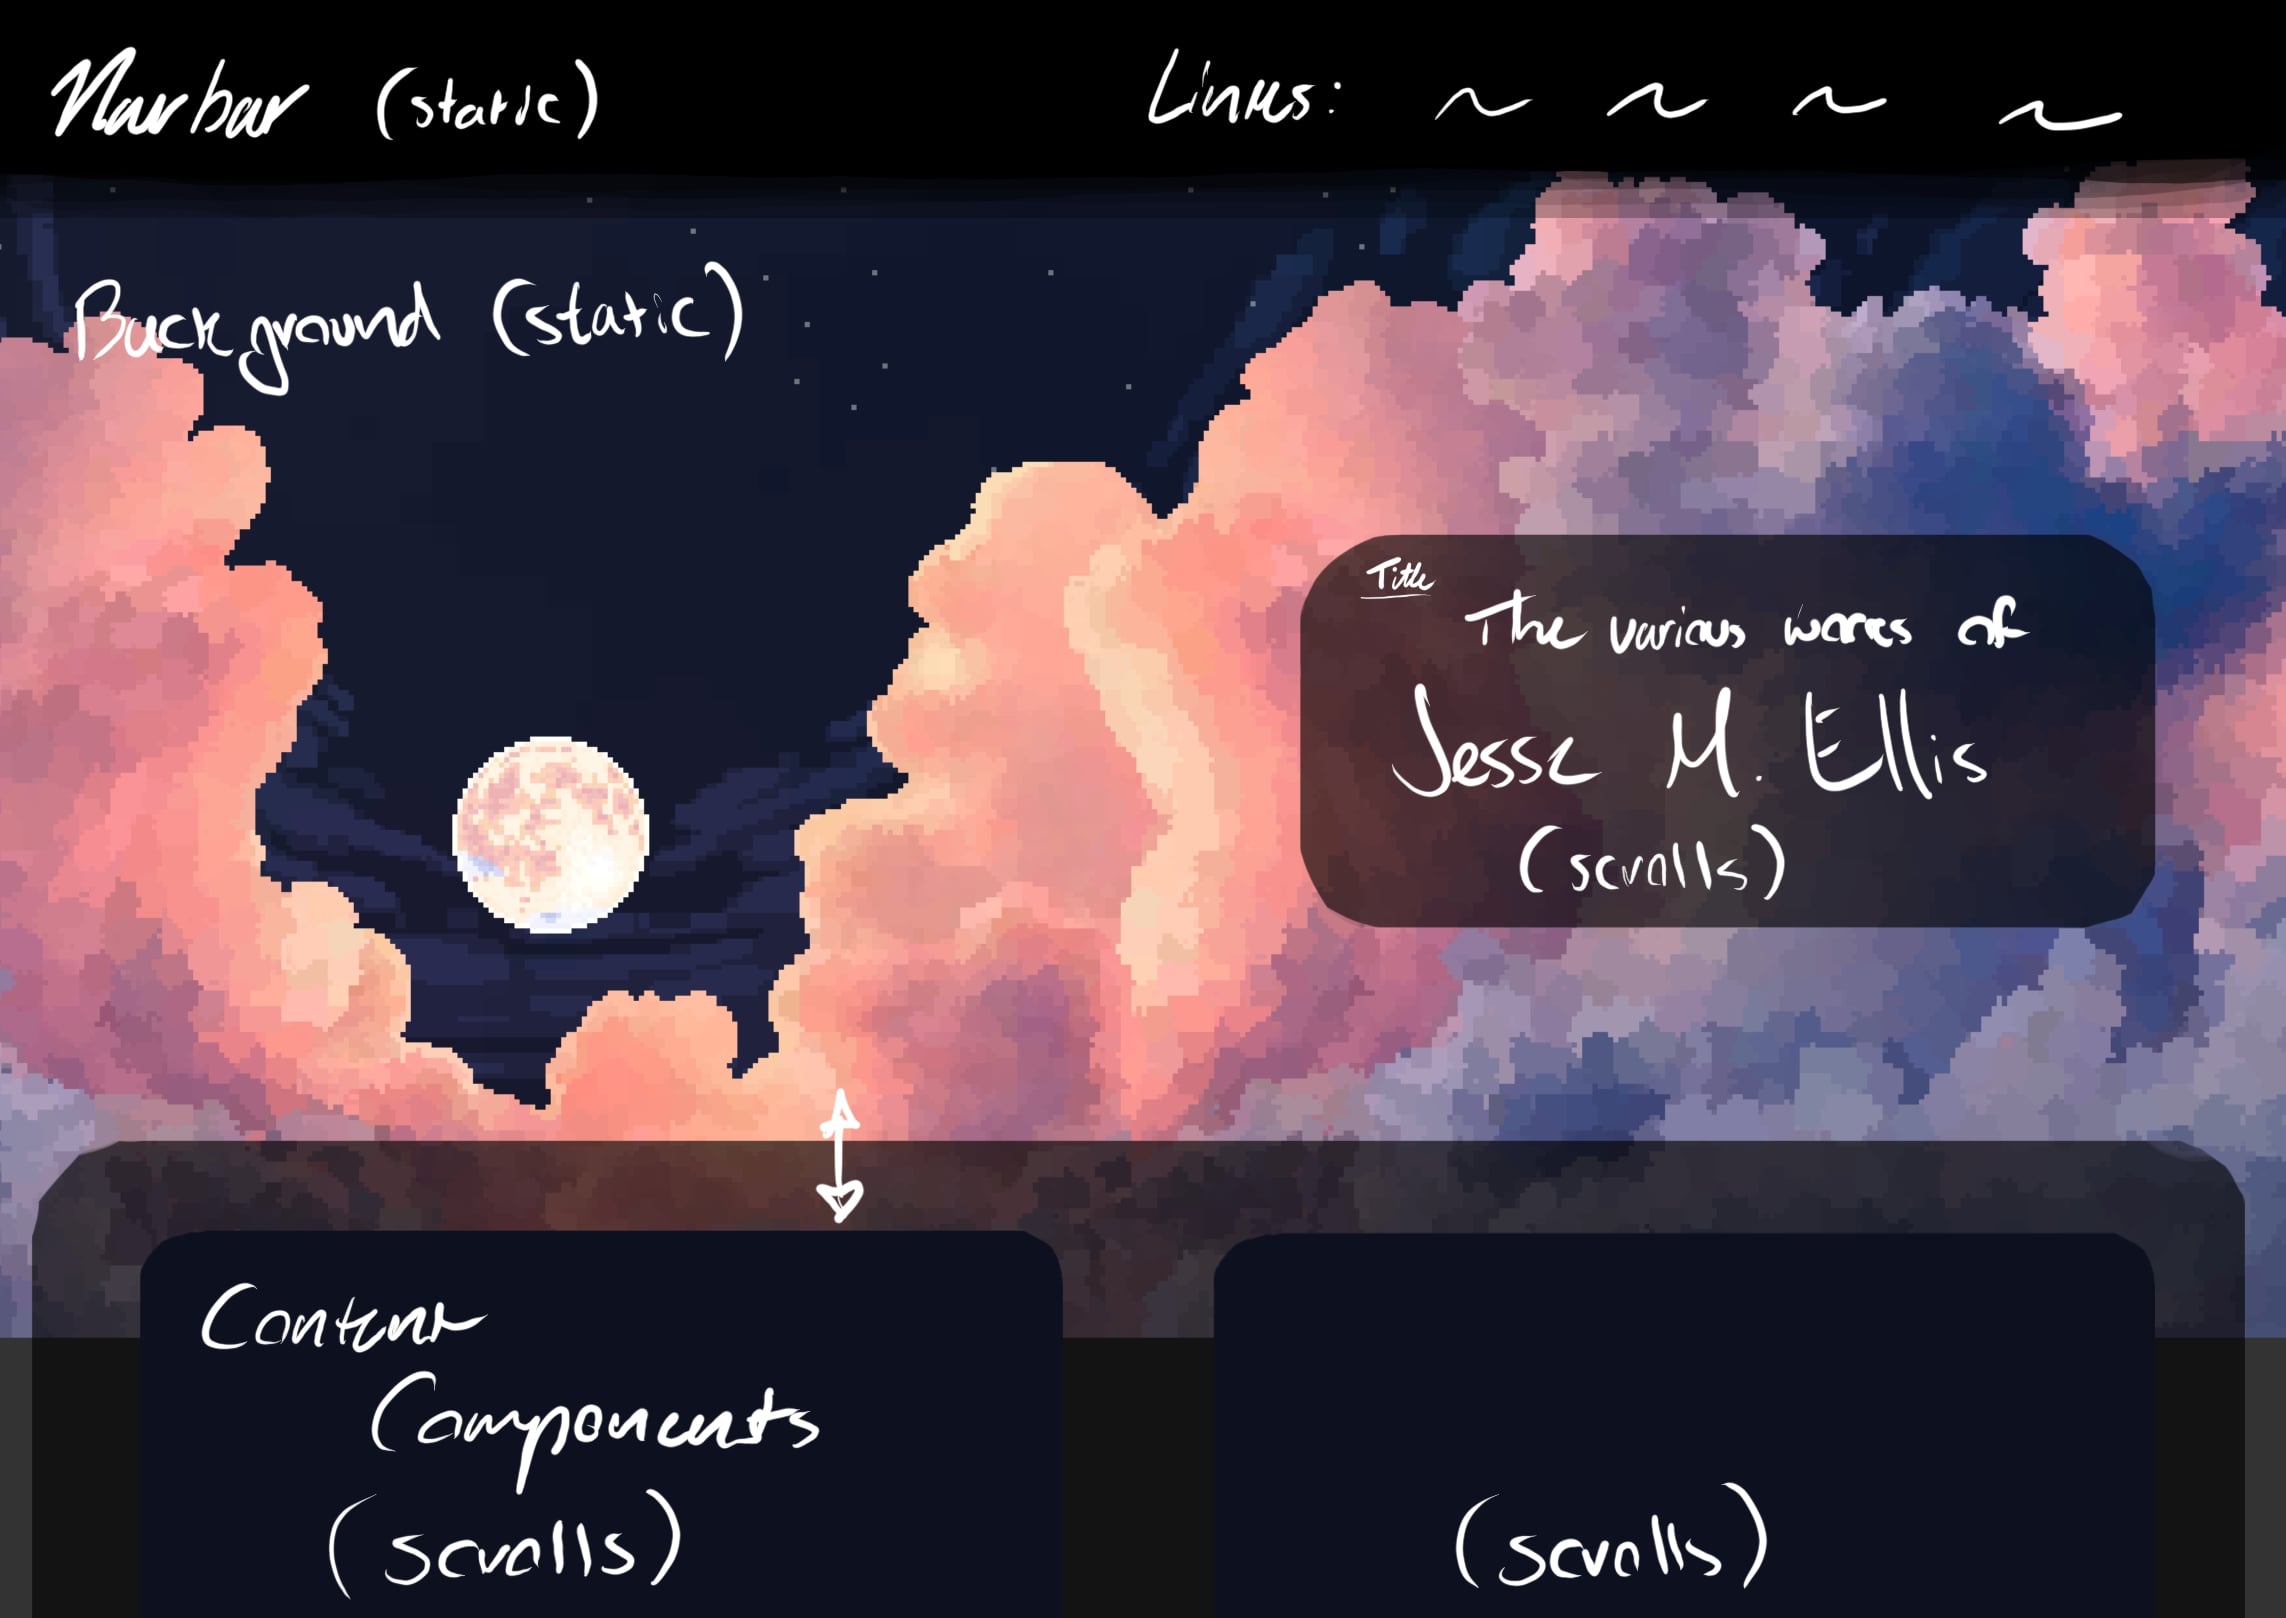
Here's a quick design sketch that captures te aesthetic of the site and some styling. I want the site to mainy highlight my current retro-style game ev project so I think using some pixel art fro mthat as the background is a cool idea.
_Note_: I did this in procreate, which is not great for this sort of thing.
---
## Figma Design
**11/27/2024**
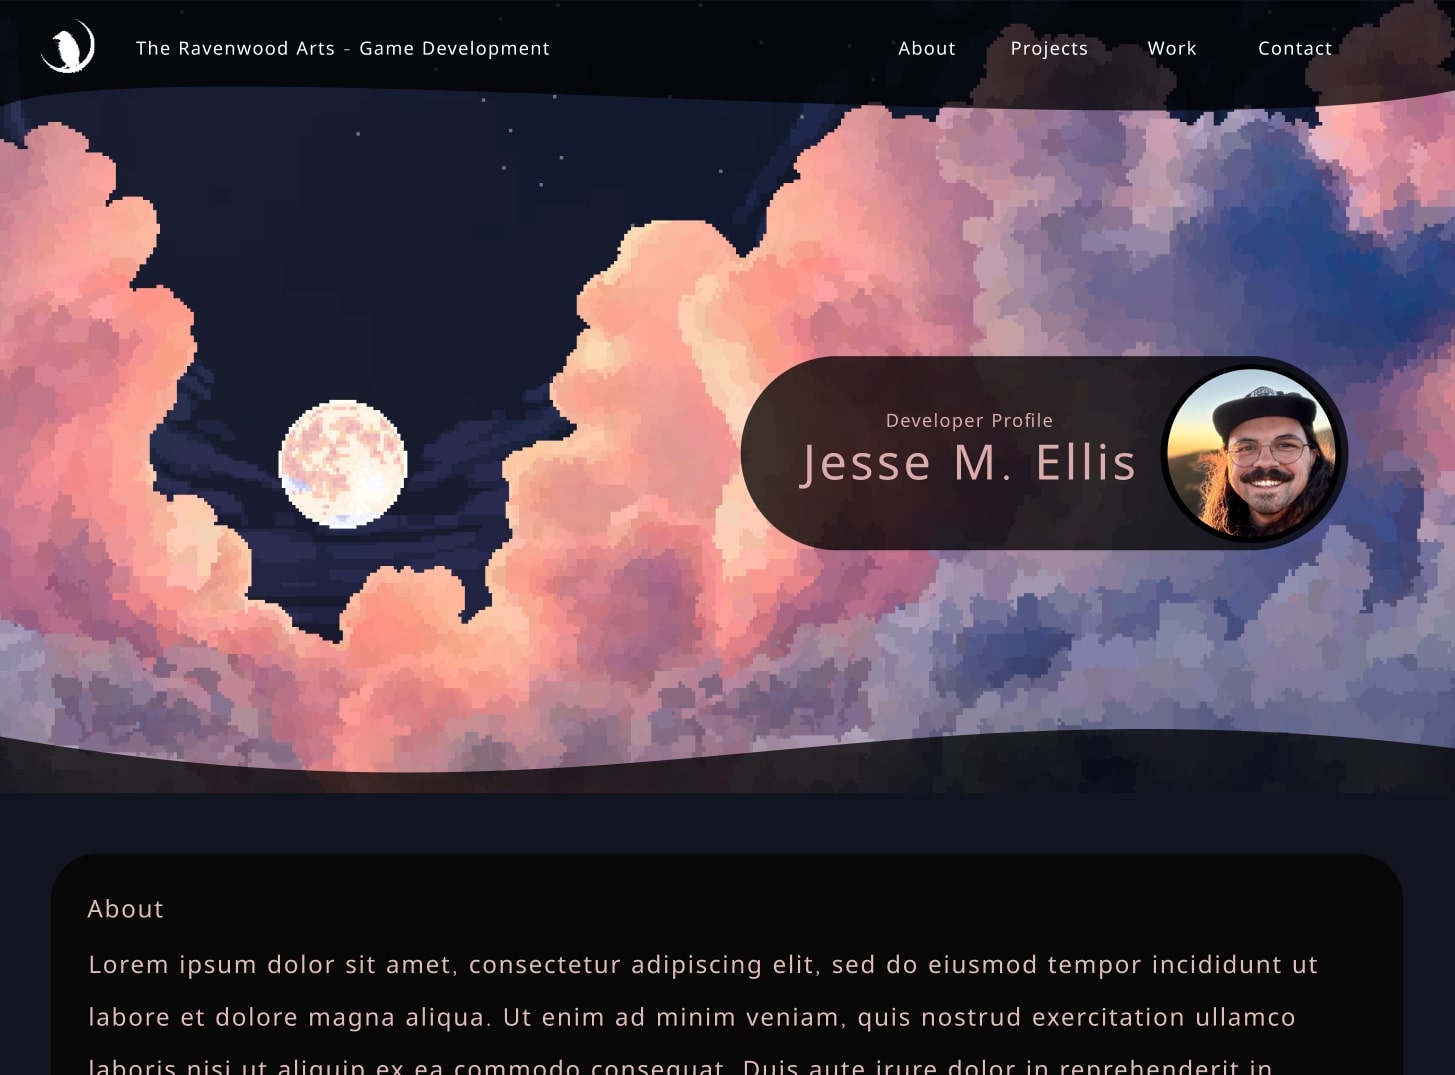
I decided to go ahead and design the website using Figma so that everything I need is ready to go when I start actual implementation.
---
## Navbar and background
**11/30/2024**
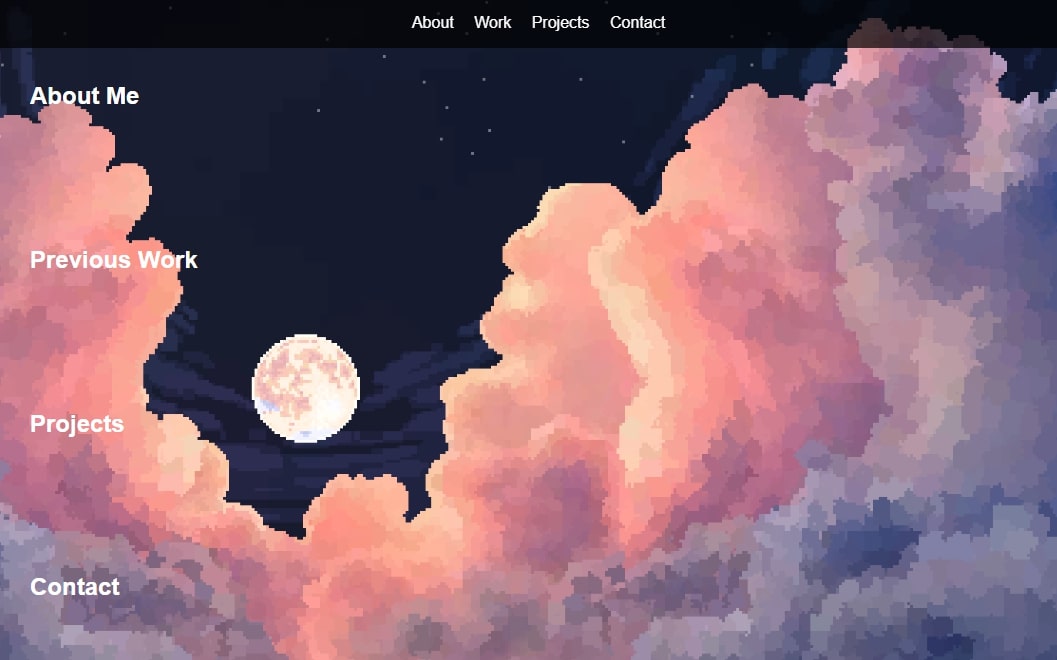
To get started on the above design I think we should get a simple navbar working that can scroll to the various sections.
We should use classes to make things easier later.
```
```
This is a pretty bland webpage with just the html, so let's add the backgound image and some styling.
```
body {
margin: 0;
font-family: Arial, sans-serif;
background-image: url("../images/Clouds.png");
background-size: cover;
background-position: left;
background-attachment: fixed;
}
.navbar {
position: fixed;
top: 0;
width: 100%;
background: rgba(0, 0, 0, 0.7);
color: #fff;
padding: 1rem;
text-align: center;
}
.nav-link {
color: #fff;
margin-right: 1rem;
text-decoration: none;
}
section {
padding: 2rem;
color: #fff;
margin-top: 2rem;
}
```
Much nicer!!! Now let's add in some simple JavaScript to scroll to the different sections by clicking the navbar links.
```
document.querySelectorAll('.nav-link').forEach(anchor => {
anchor.addEventListener('click', function (e) {
e.preventDefault();
document.querySelector(this.getAttribute('href')).scrollIntoView({
behavior: 'smooth'
});
});
});
```
Lookin pretty good!
---
## Profile Pic
**12/01/2024**
As in the Figma design I want the profile pic and name to be in a rounded box (pill shape) over the background such that it sends focus to the pixel art in the background and then name and pic of the person who created it. Which is me in this case ;). The html portion is not terribly complicated:
```
Developer Profile
Jesse M. Ellis

```
The CSS is a little more tricky as I need the position to be off center to highlight the background but also responsive when changing screen size or scrolling the view. Here is what I came up with:
```
.title-section {
height: 70vh;
display: flex;
justify-content: right;
margin-top: 3rem;
margin-right: 10rem;
align-items: center;
}
.title-box {
display: flex;
align-items: center;
justify-content: space-between;
background: rgba(0, 0, 0, 0.8);
border-radius: 100px;
padding: 1.5rem;
box-shadow: 0 4px 10px rgba(0, 0, 0, 0.2);
max-width: 80%;
min-width: 400px;
}
.profile-pic {
width: 150px;
height: 150px;
border-radius: 50%;
margin-left: 1.5rem;
object-fit: cover;
}
.title-text {
text-align: center;
padding-left: 1rem;
}
.title-text h1 {
margin: 0;
font-size: 1.8rem;
color: #f0caca;
}
.title-text p {
margin: 0;
color: #a07d7d;
font-size: 1rem;
}
```
While were at it we can use a similar approach and set up our other sections. We'll want to add a class for a box in each section like this,
```
```
Then we can add some initial CSS styling,
```
.about-section,
.work-section,
.projects-section,
.contact-section {
display: flex;
justify-content: center;
width: 100%;
}
.about-box,
.work-box,
.project-box,
.contact-box {
background: rgba(0, 0, 0, 0.8);
border-radius: 20px;
padding: 1rem;
box-shadow: 0 4px 10px rgba(0, 0, 0, 0.2);
width: 95%;
color: #fff;
box-sizing: border-box;
text-align: left;
}
```
---
## About Section
**12/03/2024**
There are three somewhat tricky things I want to accomplish in the about section that we may use in the other sections. First we need to split the box into two columns so that we can have text on the left and images on the right. Then, I want to load in the text using JavaScript so that our html doesn't get overloaded with text. Finally, I want to add a component that allows you to flip through images on the right side of the text.
**Columns in the box**
To Accomplish this we can use flex. Each of our "columns" will be set to flex: 1 to ensure they take up equal space in the box. Additionally we can easily use media queries to set our text and images to display vertically when the screen size is narrow.
**Load text file**
Conveniently we can use the fetch api to do this. This also allows for easy error handling in cases that the file does not load. When you pass a relative file path like 'about.txt' to fetch, it looks for the file relative to the location of our html file being served. E.g, since our site.html is in the root folder, fetch('about.txt') looks for the file at oursite.com/about.txt
```
function loadTextFromFile(filePath, targetSelector) {
fetch(filePath)
.then((response) => {
if (!response.ok) {
throw new Error("Failed to fetch file: " + response.statusText);
}
return response.text();
})
.then((text) => {
const targetElement = document.querySelector(targetSelector);
if (targetElement) {
targetElement.textContent = text;
} else {
console.error(`Target element not found: ${targetSelector}`);
}
})
.catch((error) => {
console.error("Error loading text from file:", error);
});
}
```
Now we need a way to know when to load the text so let's add an event listener. We can listen for when the page finishes loading. The browser will send a 'load' flag on the window object when everything has loaded.
```
window.addEventListener("load", () => {
loadTextFromFile("about.txt", ".about-paragraph");
});
```
**Image carousel**
I thought it would be cool to show images related to the about section. The user shoudl be able to flip through the images. To accomplish this we can code in the images to our html section under two class types, current-image and hidden-image. the carousel effect will be created by setting the class value of each image, e.g. the image we want to see is set to current and the rest are set to hidden. To flip through the images we will create a previous button and a next button. We can handle this logic in JavaScript by creating event listeners to get the images and buttons, detect button clicks and define a function to set the current and hidden images.
```
// Image carousel
document.addEventListener("DOMContentLoaded", () => {
const images = document.querySelectorAll(".about-image img");
const prevBtn = document.querySelector(".prev-btn");
const nextBtn = document.querySelector(".next-btn");
let currentIndex = 0;
// Function to update image visibility
function updateImages() {
images.forEach((img, index) => {
img.classList.toggle("current-image", index === currentIndex);
img.classList.toggle("hidden-image", index !== currentIndex);
});
}
// Event listeners for navigation buttons
prevBtn.addEventListener("click", () => {
currentIndex = (currentIndex - 1 + images.length) % images.length;
updateImages();
});
nextBtn.addEventListener("click", () => {
currentIndex = (currentIndex + 1) % images.length;
updateImages();
});
updateImages();
});
```
**Side-quest**
I had a cool idea that the title section could scroll up at a slower rate than the about section until they are touching. As it scrolls up the opacity should decrease until the component "disappears". I think this will make the site feel a little more dynamic to the user and could also be used for a parallaxing background at some point!
We need to get seom eitems and values using query selectors, the title box, about section, the window scroll Y value and the upward bound of the about section. As we scroll the view we can explicitly translate the title box Y value at a slower rate as well as decrease the opacity. This way once the title box meets the about section the title box will be fully transparent and move with the about section. Initially this worked but broke my navigation bar. After some troubleshooting I found that the I neededto explicitly set the title box translate to zero when not scrolling.
```
// dynamic scrolling
document.addEventListener("scroll", () => {
const titleBox = document.querySelector(".title-box");
const aboutSection = document.querySelector("#about");
const scrollY = window.scrollY;
const aboutTop = aboutSection.getBoundingClientRect().top + window.scrollY;
const slowScrollRate = 0.5;
// move title-box if it's above the viewport and not yet touching about-section
if (scrollY < aboutTop) {
// Adjust position adn opacity
titleBox.style.transform = `translateY(${scrollY * slowScrollRate}px)`;
const opacity = 1 - scrollY / aboutTop;
titleBox.style.opacity = Math.max(opacity, 0);
} else {
titleBox.style.transform = "translateY(0)";
titleBox.style.opacity = 0;
}
});
```